Home » bike

Category: bike

Saddle Quest ~ In Search Of Enduring Comfort


In this post I share what I’ve learnt about saddle comfort.

I’ve been cycling since I was a kid as a way to stay fit or get about locally. It is only in the last year that I’ve been riding regularly for several hours at a time or even days on end. My biggest single challenge with any of this has been dealing with saddle discomfort.

The cycling industry doesn’t like to put newcomers off by dwelling on this but it can take months to fully acclimatise your sit bones to the demands of sitting upon a bike saddle for hours on end.

As a new cyclist you have to begin slowly in order to accustom your bum to the saddle experience; no matter what brand or design of saddle. Just complete very short rides on alternate days to begin with, there are no shortcuts, it simply takes time for your tissues to develop and adjust to this new demand.

A gradual process is fine for acclimatising your sit bones but if you’re also experiencing numbness and tingling in your soft tissues then something else needs to be done as you can never acclimatise to that. Such tingling or numbness can lead to longterm issues and needs to be taken seriously. (One long five day endurance trip I took lead to months of discomfort but fortunately no lasting issues.)

Some things I’ve learnt..
  • Tilting a saddle down to reduce perineal pressure tends to place more weight onto your hands as you stop yourself sliding forward. This can lead to nerve pressure resulting in numb fingers or cyclist’s palsy.
  • Saddle width needs to be matched to sit bone width. Wide (130mm+) sit bones on a narrow saddle particularly cause soft tissue pressure.
  • A professional bike fit is money very well spent. I had an in depth hour long fit and follow up fit with Kernow Physio that included video analysis and physiological measurements to get an optimum starting position. A follow up session some months later further refined this. The whole process gave me an understanding of the dynamics my bike position, ideas on how I can improve aspects of my strength and flexibility as well as insight into how I can make further micro adjustments if necessary. Get a professional bike fit, no online article or video is any kind of substitute. Scott at Kernow Physio say this about the importance of also combining physiotherapy assessment with a bike fit. “…Full Physiotherapy assessment: This is a key asset to Kernow Physio as one of the most important aspects of a bike fit is understanding how the client moves. And experienced Physiotherapy knowledge certainly helps this. Kernow Physio is one of the few bike fitting companies to be run by a fully chartered Physiotherapist. Key assessment areas include flexibility, true leg length discrepancy, restriction of hip, knee and ankle movement, and a footbed assessment if required.” It worked for me.
  • Even just a few millimetres of adjustment (of many different components) can make a significant difference.
  • What feels comfortable for 4 hours may not prove so comfortable on much longer rides.
  • Good core strength stabilises the pelvis and back which aids comfort. It’s necessary to cross train and combine other exercises beyond cycling to support longterm cycling comfort and endurance. With strong, flat abdominal muscles your pelvis tilts forward less and reduces perineal soft tissue pressure.
  • There is no one size fits all solution. Seek the best advice but also trust your judgement; only you really know what is right for you. Very few experts in bike fit or coaching actually have much experience with unsupported ultra distance cycling.
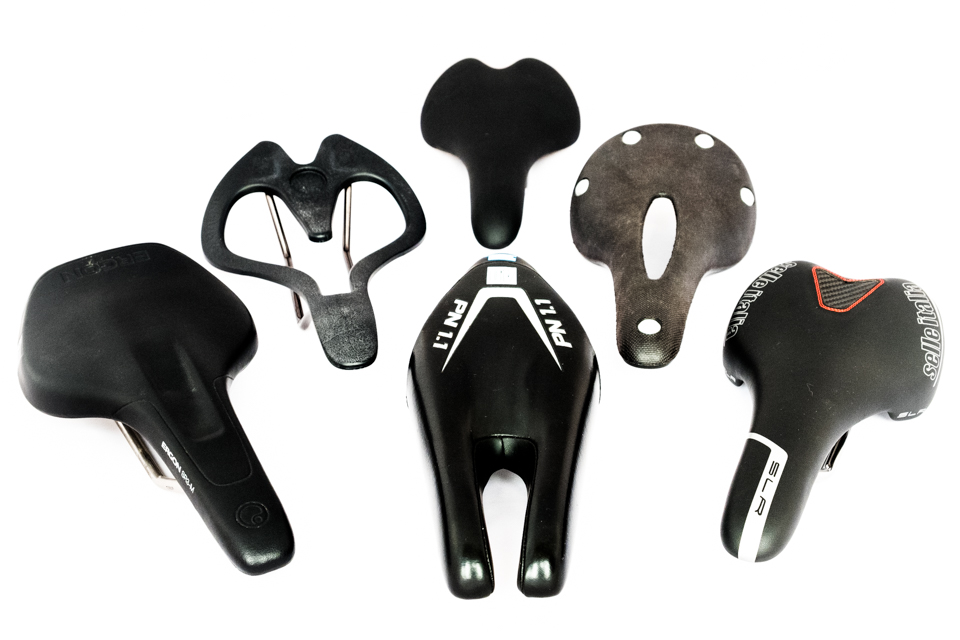
Saddles I’ve tried – in order
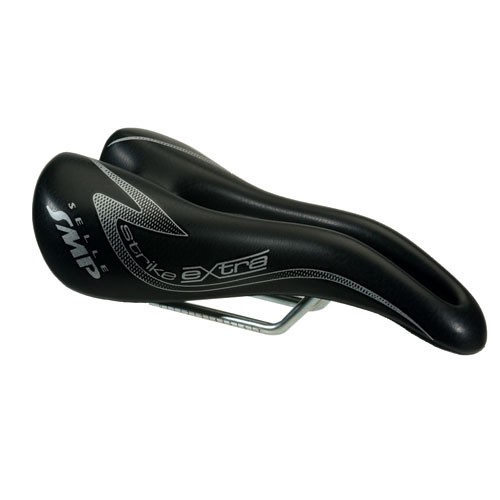
Selle SMP Extra

Used on my previous bike. I had high hopes for this but try as I may I couldn’t get a comfortable position with it.


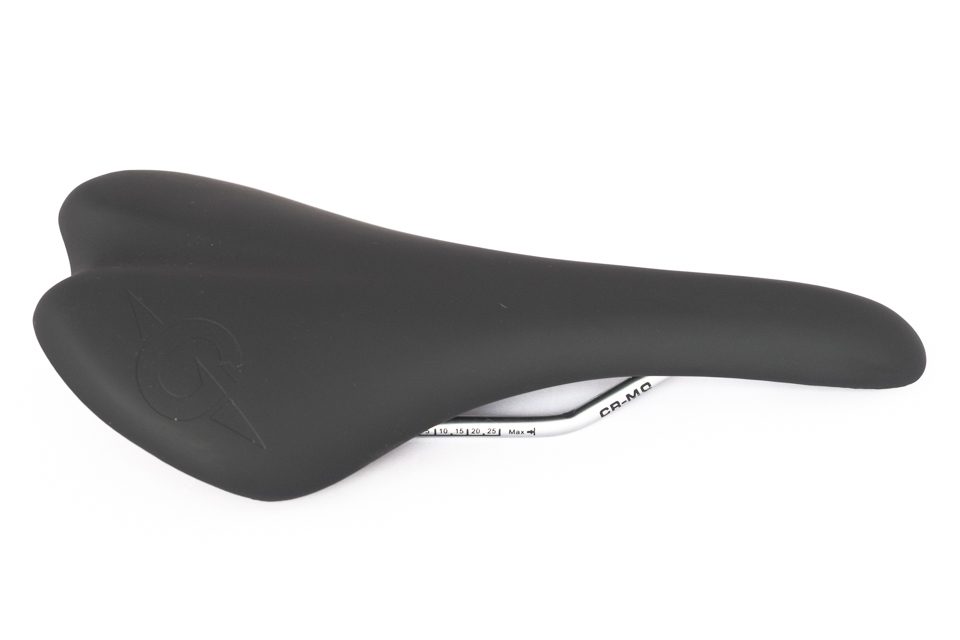
Stock Genesis saddle

This came with my Datum bike but didn’t work well for me.


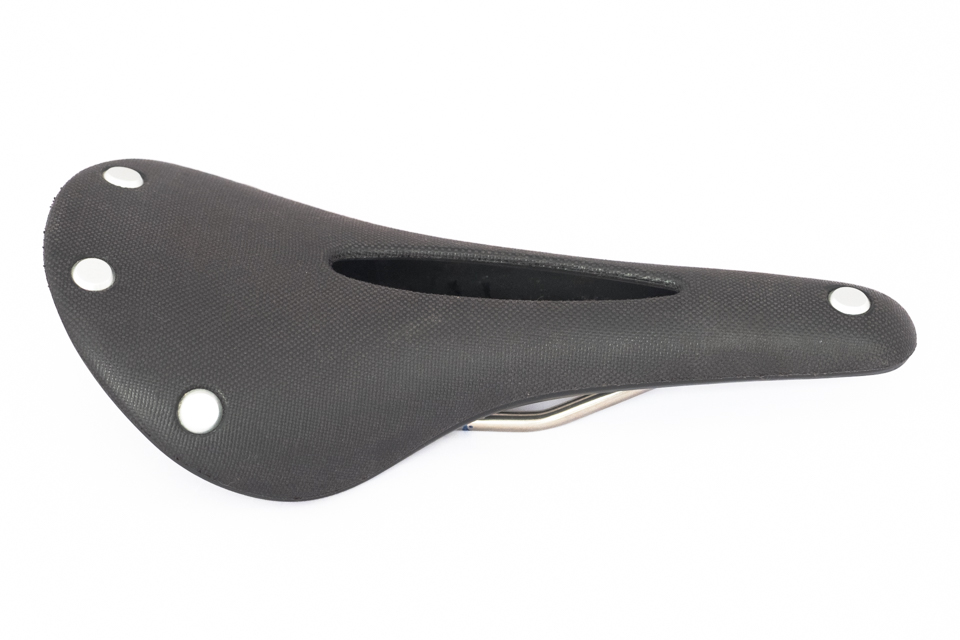
Brooks Cambium C15 Imperial

I so wanted this saddle to work for me. I love how it looks and initially it did seem very comfortable but after over 1000+km of testing I had to give up on it. It was Ok when riding up on the hoods but in the drops or on TT bars my nether regions went to sleep (I think the non cutout version maybe better as it should result in less sagging in the middle)
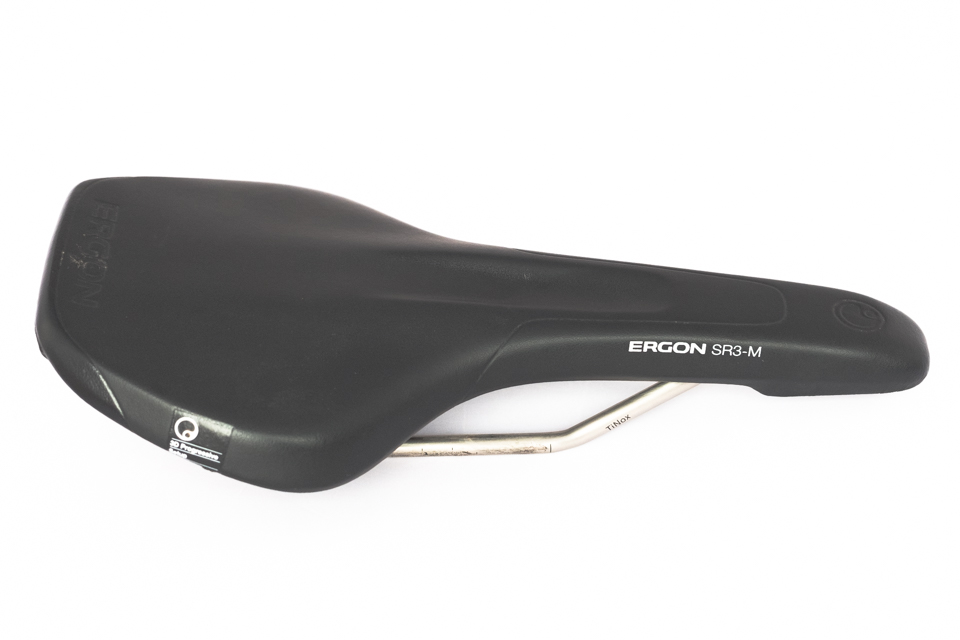
 

Ergon SRS-M

This at first seemed like the solution to my problems but again I couldn’t get a fit that allowed for comfort and blood flow in an aero position using the drops or TT bars without tilting the saddle nose down. Any nose down saddle position had me putting too much weight on my hands to stop me sliding forward. This then lead to nerve constriction and numbness and tingling in my fingers.
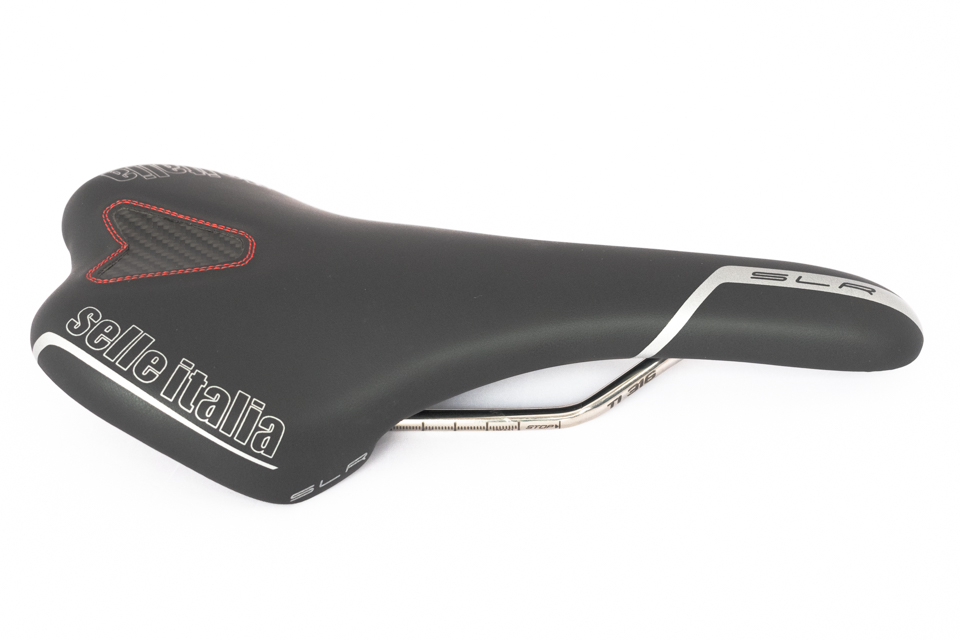


Selle SLR 

This is the saddle endurance cycling supremo Kristof Allegaert uses and having watched him cross Australia on one during the IPWR I thought it was worth a try. Once again I had the same issue of needing excessive downward saddle tilt to maintain blood flow in more aggressive riding positions which lead to excess hand pressure.


Infinity Seat N series

Aside from perineal pressure there is also the issue of saddle sores where your sit bones make contact. I haven’t suffered particularly badly with this but it’s something I’d idealy avoid. I read many glowing reviews about the comfort of this saddle and it’s design intrigued me. Sadly, my sit bone width at circa 130mm resulted in my sit bones resting, very uncomfortably, exactly on the edges of the cutout rather than within it. I could also tell that even if this wasn’t the case that I was still going to have perineal pressure issues. Another one for eBay and a real shame that  http://infinitybikeseat.com don’t provide better pre-purchase sizing guidance.
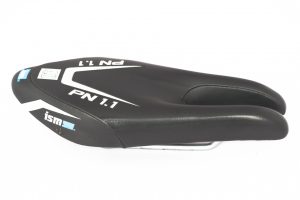
 

ISM PN 1.1

Success! This is the saddle I rode the 2017 TAW race on with virtually no blood flow or nerve issues and only mild saddle sores. I find I can move around a lot on this, but still stay comfortable, depending on whether I’m on the hoods, drops or TT bars. The pressure on my pubic rami bones took a few weeks to get used to but then I was set. It’s not quite perfect but certainly the best I’d found until I upgraded to the new PN 3.0.
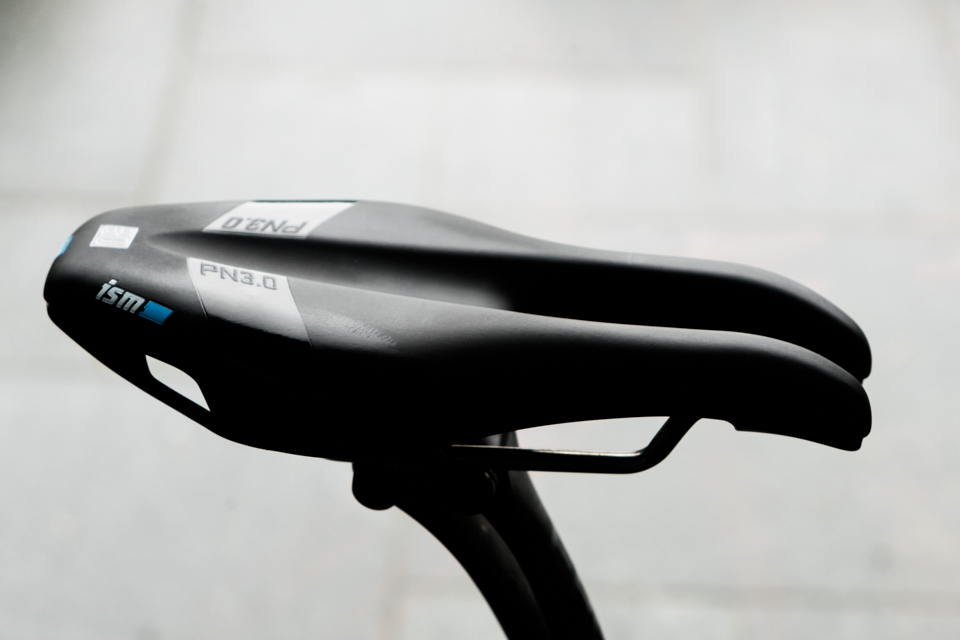
 

ISM PN 3.0

This is a seriously good saddle for my needs. Virtually zero blood flow issues riding in any position. Compared with the PN 1.1, the wider back offers more pelvic support and allows me to sit back onto my sit bones if I want. The slightly different to curve to the top of the saddle fits my anatomy better. Small changes compared with the PN 1.1 have resulted in even better comfort. There maybe more comfortable saddles to be had but I’m content with this and no longer looking elsewhere. My focus now is on managing friction and eliminating saddle sores. Check out ISM’s design theory here.


Thanks for reading, I hope you’ve found this useful and wish you happy, comfy riding.

eTappery & Post TAWR 2017 Upgrades

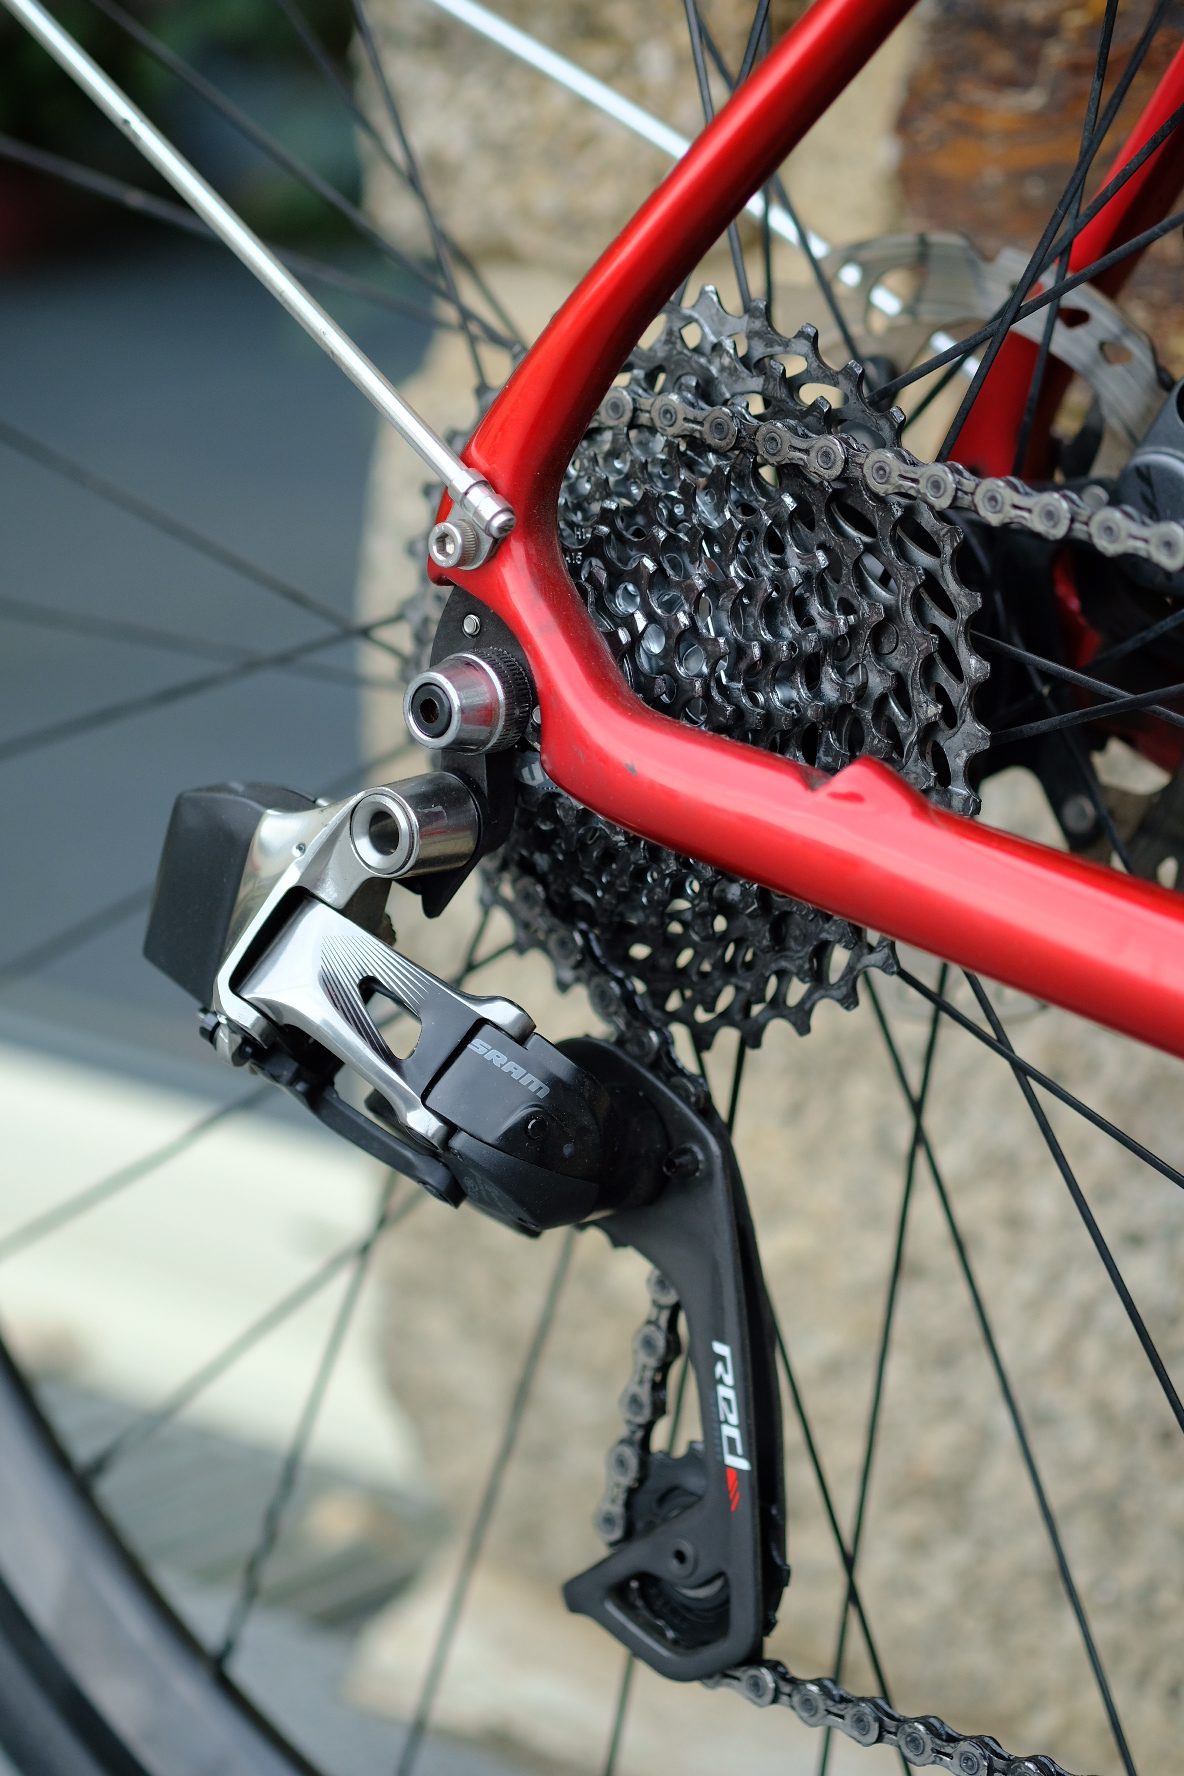
Sram eTap and gear ratios
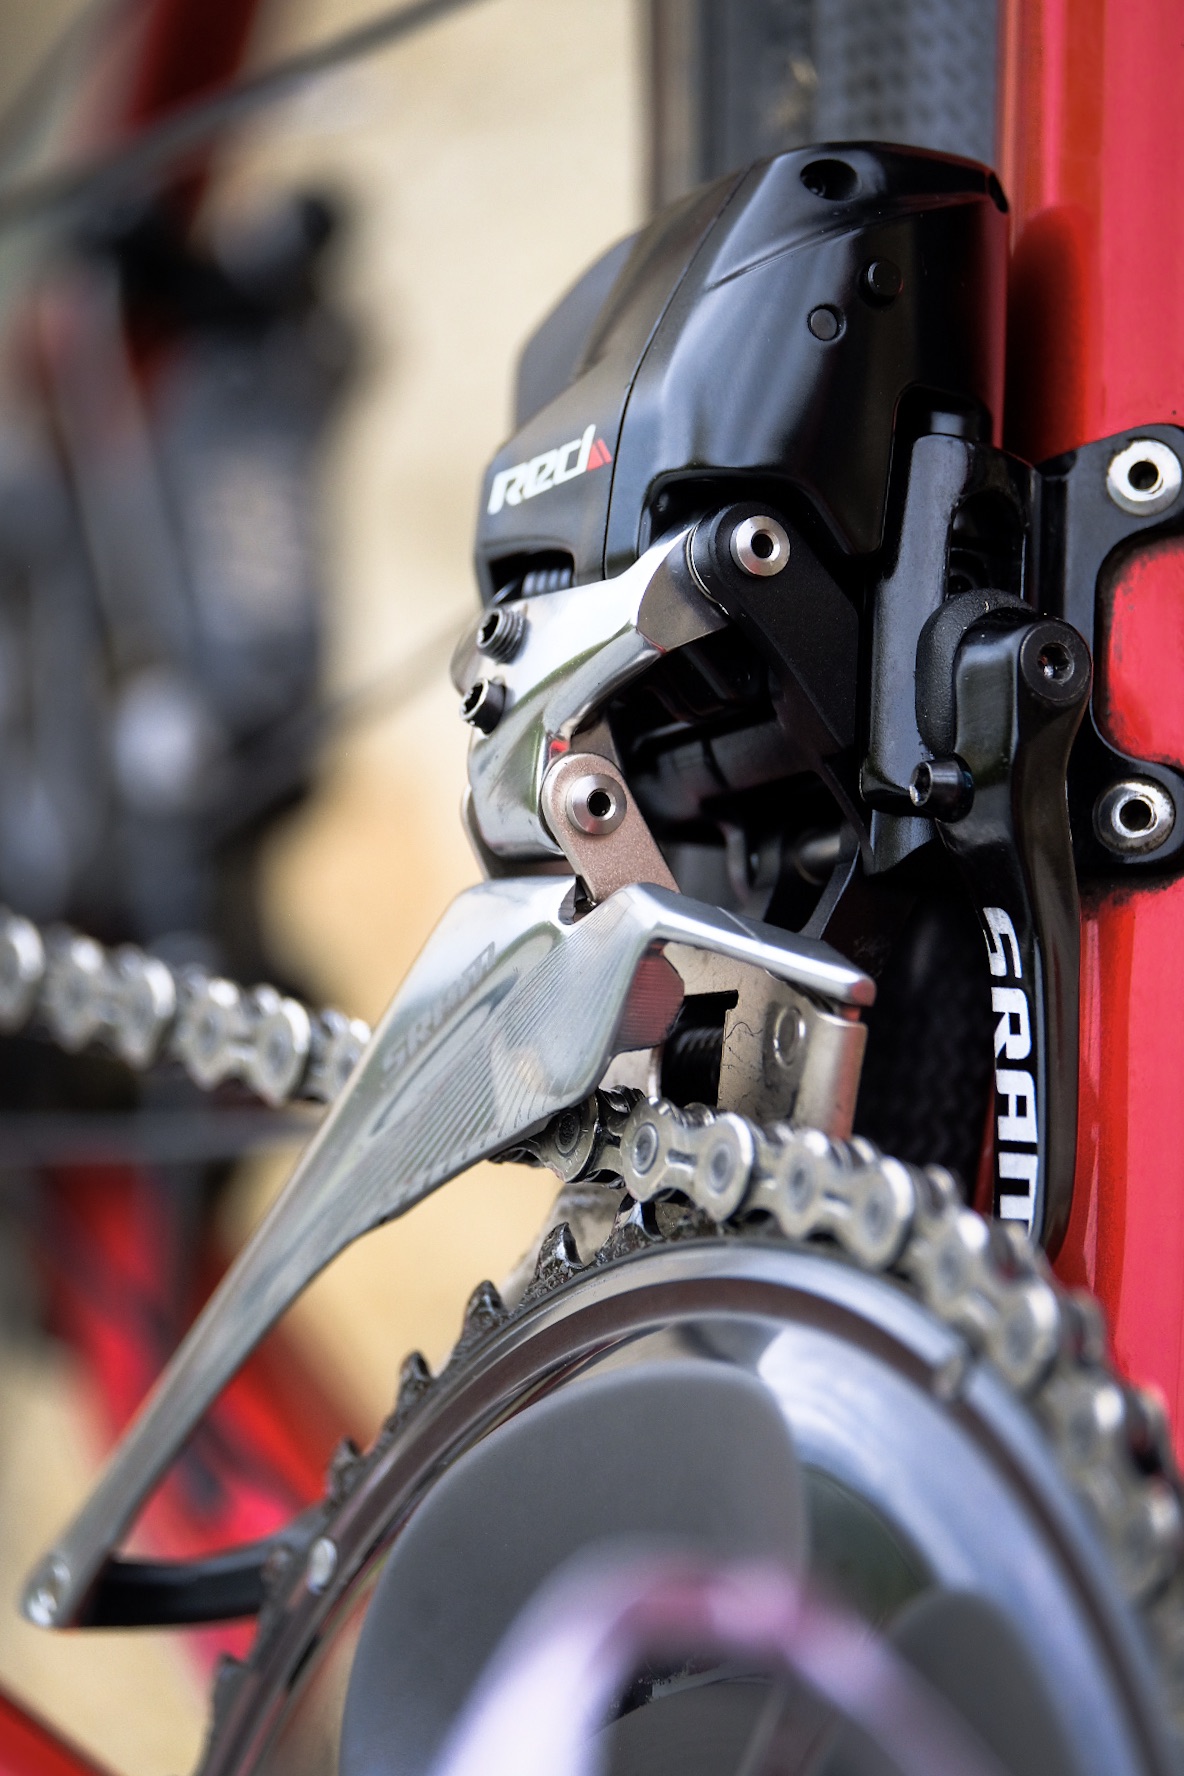
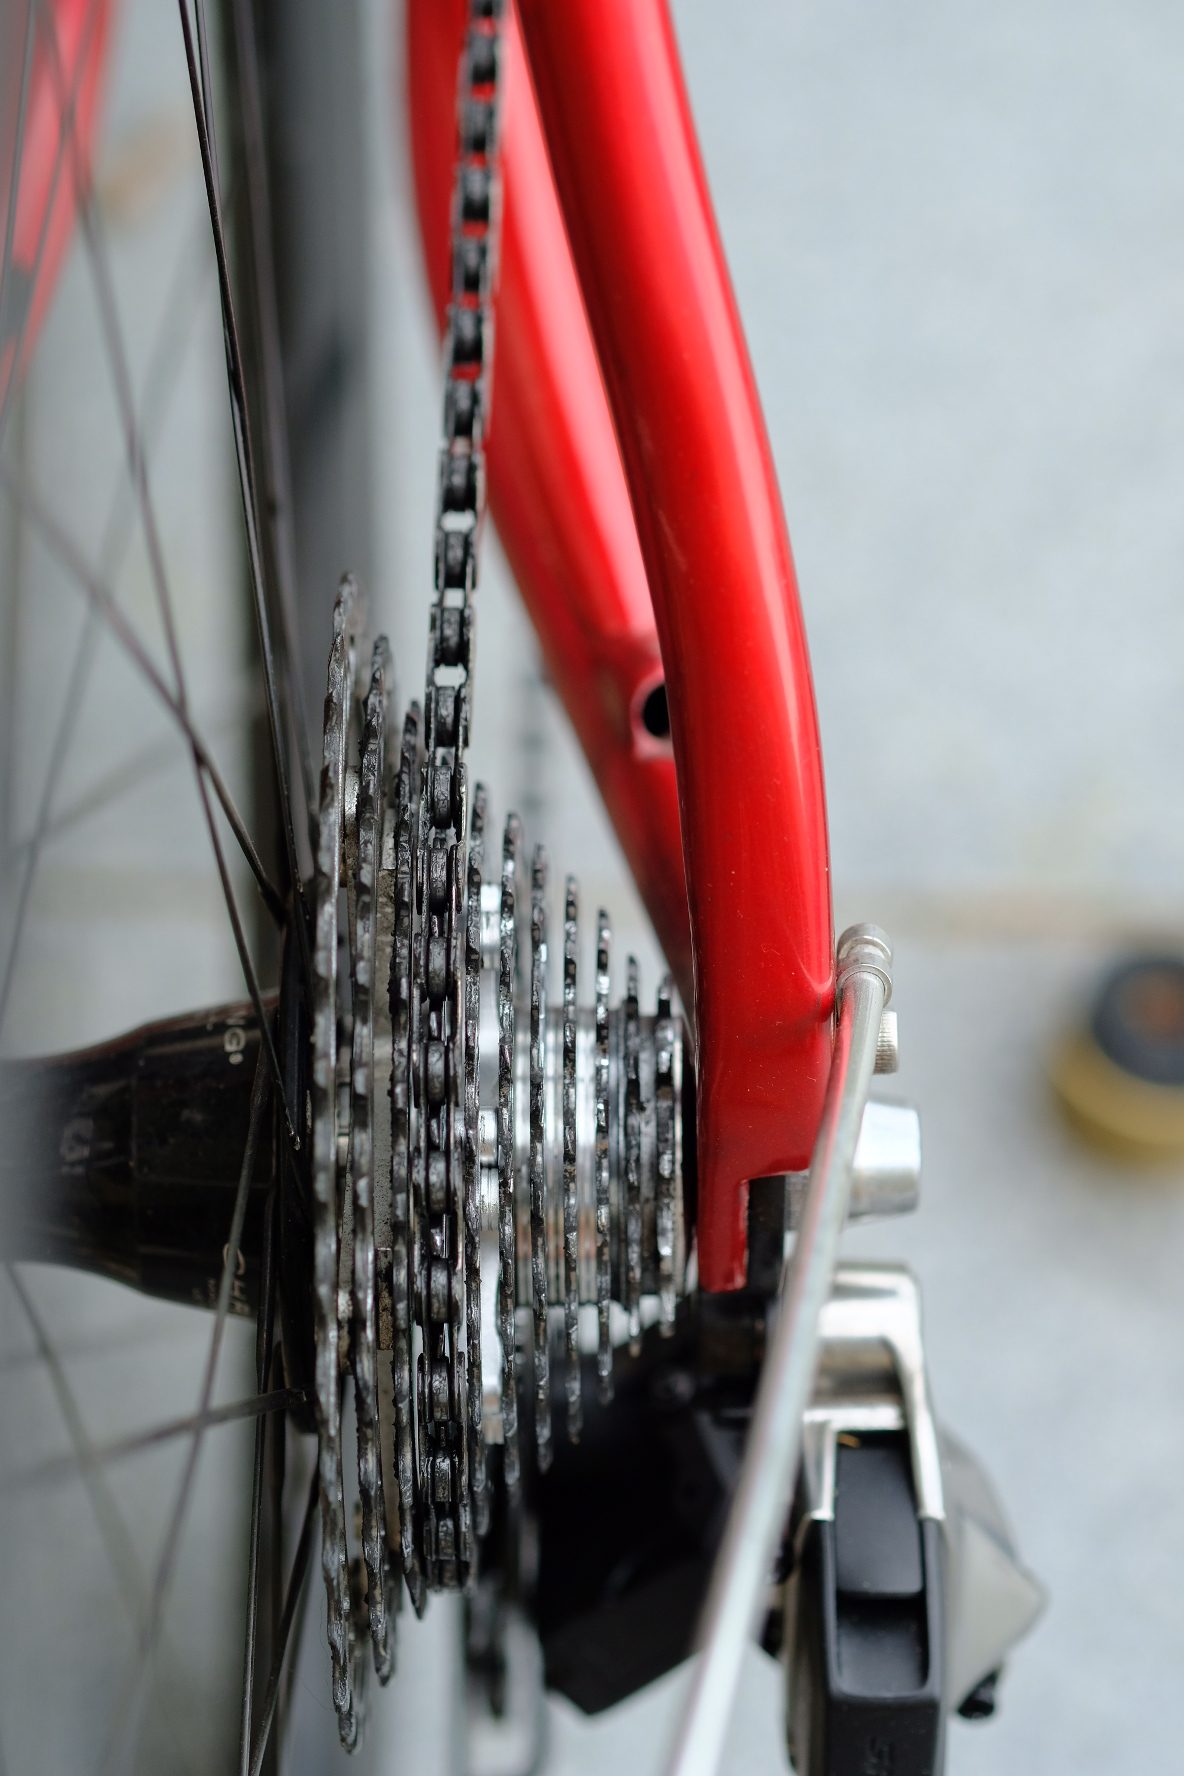
Riding in the Transatlantic Way Race highlighted one particular issue with my bike that could be improved; gear shifting. I bought it as a stock 2016 Genesis Datum 10 equipped with Shimano Tiagra 10 speed gearing. This mostly worked well but I had occasional issues with the left shifter intermittently refusing to engage and change from small to large chainring. It would begin working again after much random flicking of the lever but the reason for this problem never became apparent . This was not confidence inspiring at all and as the inner workings of the shifters aren’t readily serviceable I wanted to change this set up to something more reliable.

In my earlier post about the upgrades I’ve already made to this bike you’ll see that I opted for old fashioned bar end shifters and I’ve been riding very happily with these up until the race. I chose them because:

  • They force frequent hand movements which reduces sustained pressure on your nerves which lessens numb hand/finger issues. (Something that had been a problem for me already)
  • Simple, reliable, serviceable, repairable.
  • You can tell more or less exactly what gears you are using, day or night, just by the feel of the shifter position.
  • You can jump as many gears as you like up or down very quickly.
  • There’s an enjoyable tactile quality to shifting.

So all good then! Well, almost… During the race proper I was riding well over 15 hours daily, day after day, in highly undulating terrain and that makes for a  huge number of gear changes. Consider that I rode 242km last Sunday in similar terrain and made 1,537 gear changes (81 front and 1456 rear: data thanks to eTap and Wahoo Elemnt ) it is easy to see how these endurance events change so much of what we may be used to on a bike.

Using this rate against my average 322km a day on the TAWR suggests around 2000+ gear changes a day. It is hardly surprising that by day six I was getting a sore right hand and a blister on my little finger. What is the easiest way to make 2000+ gear changes daily over multiple days? Push button electronic shifting of course.

A second, and much bigger issue, became apparent one night when I was slowly climbing a narrow, windy, undulating pass. I couldn’t see beyond the limit of the beam from my light and this made it very hard to see the gradient ahead and anticipate my gear changes correctly. Added to that, not being able to shift from the hoods or brake levers made things even more difficult. This was true on some daytime climbs as well so I resolved to look into electronic alternatives once the race was done as I find that for ultra cycling anything I can do to make life on the bike easier helps. What might be just a minor niggle or annoyance on a weekend century ride can become a real problem over long multiple day rides.

My first thought was Shimano Di2 as it’s a well proven system chosen by many top ultra cyclists. Di2 however involves a lot of wires, connections and a single central power source. None of which should be a problem when regularly well maintained but contacts, wires and connections can very quickly wear or corrode unseen during extreme conditions.

I love the purity, style and history of Campagnolo as a brand and really wanted to delight in their offerings but I just couldn’t. I quickly eliminated their EPS system because it seemed far less likely that it could be safely made handle the large 36T rear sprocket option that I want to be able to run as well issues with battery placement and ease of charging whilst on the road etc.

To my mind, when compared with Sram’s eTap wireless system, Di2 and EPS seem needlessly complex and dated. I’m convinced that all manufacturers systems will become wireless over the next few years.

Sram’s eTap system requires 4 batteries (2 rechargeable in the changers and two CR2032 penny batteries in the shifters) which may initially seem complex but as it is highly unlikely that all 4 batteries will fail at once I see this as an advantage. The batteries are light, the charger is tiny and can be powered from a USB power bank or dynamo hub. There is no junction box, no cabling, no remote battery to be hidden, just a very tidy self contained system.

Added to that the eTap shifting system really appeals to me. Press the left lever and the chain climbs up a sprocket, press the right lever and the chain drops down a sprocket. Press and hold left or right lever and the gear change continues up or down as far as you want. Press and hold both together to shift the front chainrings up or down. It’s superbly simple and intuitive, and leaves the brake levers left solely for braking. I instantly settled into using the system and virtually never miss shift whereas with STI shifters I’d get it wrong surprisingly frequently (I know blame me not the system…but..). A further advantage of electronic shifting is being able to set up satellite shifters to change gears at the push of a button from on the aero bars or the drops etc. I have Sram eTap Clics neatly installed in the bar ends and I find this really let’s me “settle in” better on the rolling roads I tend to ride. The brakes have sockets that allow for up to two satellite shifter systems to be added so for the ultimate in flexibility you could have Clics in the TT/aero bar ends and Blips on the drops or bar tops.

Batteries and tiny charger. Protective battery cover with charge status indicator is a nice touch

Apart from the obvious high cost the only downside is having to charge/change batteries to keep everything working and this is what put me off going electronic initially. eTap batteries are small and light so carrying charged spares plus the tiny usb charger that can run from a power pack or from my hub dynamo is no big issue. A full system failure is extremely unlikely and at worst I might be stuck with either using a single front chainring with a  working rear derailleur or with shortening chain and cobbling together a single speed set up which maybe no worse than a failure with a mechanical system. The long term reviews I’ve read suggest excellent reliability so I hope it never comes to that!

There is definitely a tactile delight to full mechanical systems but I don’t think they are the optimum choice for ultra endurance racing because with ultra distances anything that makes time on the bike easier and more comfortable is an advantage. Of course, having said that, it maybe that if you are heading somewhere truly remote that a fully serviceable mechanical system maybe a safer/wiser option.

I’ve found that the slick ease of eTap makes everything I’ve used previously seem like an antique and as the vast majority of my riding distance is in the UK with fairly ready access to spares etc. I’m very happy to enjoy this luxury.


Gear Ratios

I’ve been running a Sram PG1170 11-36 cassette with a Shimano Ultegra medium cage rear derailleur up until now and with no issues. Web searching showed that many people had run 11-36t cassettes with the Sram Wifli eTap system even though Sram advise on a 32t maximum and, happily, I’ve had no issues either with my 11-36t or my Ultegra chainrings for that matter.

I’m pursuing optimum with this bike and to that end I have modified my cassette by mixing the sprockets from my existing 11-36t with those from an 11-25t PG1170 cassette that I found heavily discounted online. The standard PG1170 11-36t and 11-25t gear spacings run as follows:

11,12,13,15,17,19,22,25,28,32,36

11,12,13,14,15,16,17,19,21,23,25

The three largest 28,32,36 or 21,23,25 sprockets are joined together and cannot be split but the other individual sprockets can be swapped about so long as you start with the 11t so I’ve combined the two to create an alternate 11-36t cassette as follows:

11,13,15,17,19,21,23,25,28,32,36

This gives a more even gear spread through the middle of the cassette (as illustrated below) which makes for more economical riding with fewer changes in cadence. That’s the theory at least and it’s working very well around my hilly Cornish terrain and on recent rides my most used gears have been the new 50 x 21 & 50 x 23 ratios.

It’s now pretty much the perfect bike for my needs.


The Bike

What am I riding for this adventure?


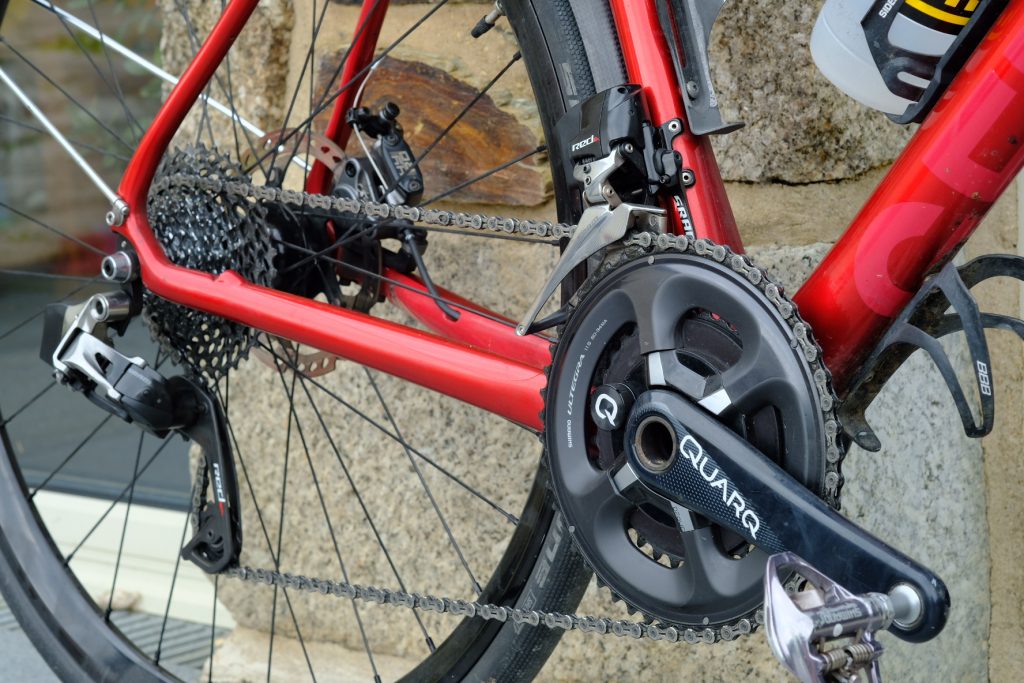
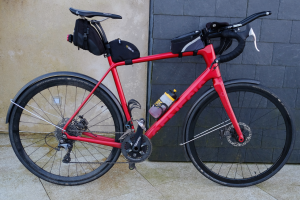
A Genesis Datum 2016 “10” edition. The version with the lowest equipment specification (There’s 10, 20 & 30, all with the same frame but different drivetrain and paint jobs). I rode this pretty much in it’s stock Shimano Tiagra setup from September till January other than changing the tyres after a few weeks and installing a Quarq Dfour power meter to aid training.

During those months I researched a lot on endurance cycling in general plus rider accounts from other ultra distance events and generally finessed my ideas into what I felt was going to be my optimum setup. It won’t be everyone’s idea of ideal by any stretch but I’m very happy so far and will be really putting it through it’s paces on some longer rides in the coming weeks.

what have i changed?
  • Gears are controlled with Shimano Dura Ace 9000 bar end shifters.
  • Brake levers are now Shimano R400. (Still controlling TRP RDHD brakes)
  • Front chain rings 50-34T. (On Quarq Dfour crank) (Was 46-34T but decided that was not needed)
  • Front mech upgraded to Shimano Dura Ace 9100.
  • Rear cassette: 11 speed Sram 1170 11-36T. (was 10 speed 11-32T)
  • Rear derailleur: Shimano Ultegra 6800 medium.
  • Saddle changed to Ergon SR3 (20-16-17 Now changed again to ISM PN1.1)
  • Seat post: Ergon CF3 (This thing is amazing…)
  • Custom wheels from Owen Wheels ( Schmidt SON 28 15 6-bolt front hub, a Chris King R45 disc rear hub and Kinlin XR31RTS OCR rims, laced 32-spoke, 3-cross with Sapim CX-Ray spokes and Sapim’s alloy polyax nipples) Shimano Ice Tech Rotors
  • Tyres: Schwalbe S-One 30c tubeless.
Why this lot?

Well, I grew up riding bikes with friction shift gear changing and really like having a single lever for changing gears up or down over whatever number of gears I desire. The Tiagra brake lever controlled gears were mostly fine but on occasions the left side one, controlling the front mech, would get stuck on the small ring for no apparent reason until eventually, after much lever flicking, it would re-engage. Not confidence inspiring.

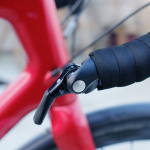
I’ve also had issues with finger numbness on longer rides and bar end shifters force you to move your hands around the bars more which helps with blood flow and reducing nerve pressure. I cut 25mm off the handlebar ends before fitting the shifters so that they didn’t stick out to far and get in the way when riding out of the saddle. I also double wrapped the bars for more comfort using the original wrap with Sram cork tape on top. I am very happy with the result and adjusted to using them immediately. Perfect for long rides with little to malfunction.

They’ll also control pretty much any brand of replacement front/rear mech if needed due to mechanical troubles mid race. I can also micro adjust the front mech to stop chain rub dead easily. Again makes me move my hands! The Dura Ace front mech maybe a little excessive but it does have a super smooth action.

The smaller 46T big ring means I spend most of my time using just that and only drop to the 34T on the steepest hills. When it was 50t I very rarely used the smaller sprockets. (UPDATE: I’ve changed back to a 50:34 setup because shifting works better and I’ve gotten stronger)

There’s a great piece on ratios for ultra cycling here that informed some of my decision. My low 34-36T grandad gear makes the steepest of Cornish (And hopeful Irish) hills very doable even when exhausted. Energy conservation and management will play a big factor in this race and some easy gearing is going to help.

Saddles will be the topic of a whole other post but having tried a few I can say I’m now very happy with the Ergon SR3. Combine this with Ergon’s CF3 Setback seat post and comfort levels increase dramatically. (UPDATE: Following my 4 day Welwyn Garden Trip I switched to and ISM PN1.1 due to penile numbness issues!)

The Ergon CF3 is described as:

Killing road buzz! The CF3 Pro Carbon seat post with 25mm of setback presents a comfort innovation by using a two parallel leaf springs and bushing equipped pivots to soak up road vibrations. The saddle moves backwards in a arc motion, with the help of the carbon suspension beams (VCLS Technology). The highly sensitive carbon beams retain that ‘direct road bike’ feel.”

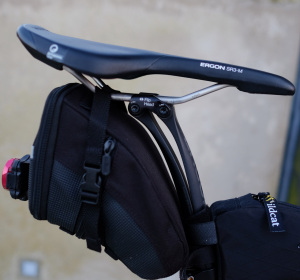
It really does achieve all of that. The only downside, aside from cost, is that altering saddle angle is a longwinded process once it’s installed as the post has to be removed for angle adjustments  It’s best get everything spot on and measured with your existing setup and then transfer that across whilst also making allowances for how the saddle moves aft and levels out with your weight on it.

The stock Fulcrum Racing DB wheels that come with the bike can only be described as basic. After only 2000km or so the rear freehub began to bind and grind even with regular oiling. These are budget wheels and removing or servicing the hub is a real faff compared to fulcrum’s higher end wheels and I suspect it’s not really intended. Either way for endurance riding on multiple road surfaces with pot holes and who knows what good wheels are essential. I wanted wheels with a good strength to weight ratio that would also endure and be fully serviceable. The wheels Pete Owen has built me should see me through many years of hard use. Pete clearly loves his craft and is a pleasure to deal with. I found out about his wheels whilst idly fantasising about a custom Rusby bike, not this year!

The top quality Chris King rear hub should last indefinitely, with regular servicing, and can be reused with new rims in the future as needed. Likewise the SON dynamo hub is widely regarded as the most reliable disc hub available and should be good for 10’s of thousands of km.

Finally the tyre upgrade came about after I found myself unexpectedly sliding down the road on my side without warning. I can’t really blame the stock Challenge Strada Bianca 33c tyres but as I wanted to go down a size and try tubeless it was a good excuse for a change. Such crashes aren’t good for one’s confidence either, especially as at no point did I think “oops I’m taking this bend a bit quick”, I just ended up on the ground unexpectedly. By changing tyres I felt I was at least doing something to reduce the chance of similar events in the future.

I settled on Schwalbe S-One tyres because they have a very low rolling resistance, excellent reviews for grip, and as 30c’s in 60-70psi tubeless mode comfort is a very high indeed. I converted the stock Fulcrum clincher wheels to tubeless using Stan’s RimTape which was very easy. Fortunately I have ready access to reasonable sized compressor which makes inflating the tyres onto the rims pretty easy. I don’t think I could have got there with just a track pump, a much bigger initial blast of air is needed to get the tyre to inflate into place. No punctures so far but I have a Dynaplug® Micro Pro Bicycle Bike Tubeless Tyre Puncture Repair Kit in case. (UPDATE: I’ve had a rear tyre puncture that self sealed once pressure dropped to around 40psi but it would not hold at 70psi) I had to top up the tyre pressure a couple of times in the first 2-3 weeks. Apparently all tyres are just a little porous and it takes a while for the Stan’s NoTube sealant or similar to fully seal them. Switching them over to the new wheels was no big deal and I barely lose any pressure now.

That about sums it up. I haven’t totalled the costs but I know I could have spent a lot more, or a lot less, but I’m happy that the bike fits my needs perfectly and most importantly won’t limit my performance in any way.

No excuses!